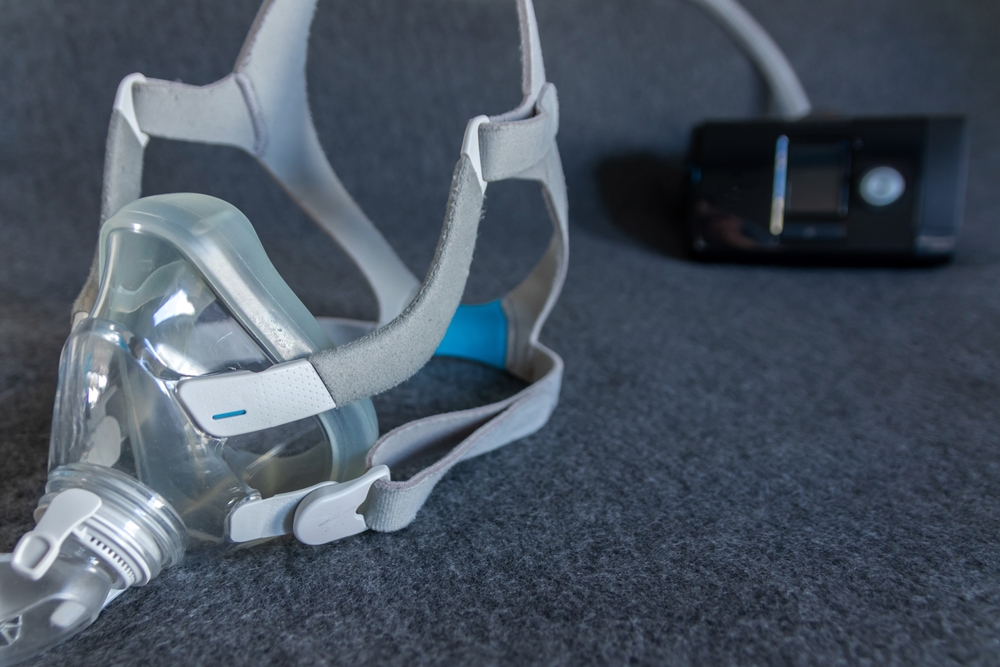
A well-fitted CPAP mask is key to effective therapy. Here’s how to achieve a secure, comfortable seal and fine-tune your fit night after night.
1. Choose the Right Mask Type & Size
Start by selecting a mask style that matches your breathing pattern:
• Nasal masks cover only the nose—ideal if you breathe through your nose.
• Full-face masks cover nose and mouth—best if you mouth-breathe or have nasal congestion.
• Nasal pillows sit at the nostrils—minimal contact and great for claustrophobic users.
Use the manufacturer’s sizing guide—measure along the bridge of your nose and over your cheeks—to order the correct cushion size. Masks that are too small pinch your skin; too large cause leaks.
2. Adjust Headgear Straps Evenly
Lay the mask frame on your face, then pull the headgear over your head. Position straps so:
- The top straps sit halfway up the back of your head.
- The lower straps wrap just below your ears.
Tighten each strap by small increments—just until the cushion sits flush without gaps. Over-tightening can cause discomfort or red marks; under-tightening leads to leaks.
3. Find & Eliminate Common Leak Points
With the mask on:
- Turn on your CPAP machine at therapy pressure.
- Move your head side to side and lie in your usual sleep positions.
Listen and feel for air escaping around:
- The bridge of your nose (nasal masks).
- Under your nose (nasal pillows).
- The corners of your mouth (full-face masks).
Minor leaks can be corrected by micro-adjusting one strap at a time and re-checking. Major leaks often mean the cushion seal or size is incorrect—swap to the next cushion size or consult your supplier.
4. Optimize Comfort & Pressure Relief
If the mask feels too rigid:
- Rotate the elbow connector (if your mask allows swivel) to reduce hose tug.
- Try the mask’s built-in “quick-release” clips so you can adjust straps without removing the entire headgear.
- Consider models with silicone gel or memory foam cushions for extra comfort.
Some machines offer mask-pressure relief settings that momentarily reduce air flow during exhale—ask your provider if this feature is available.
5. Re-Fit Regularly & Replace Worn Parts
Mask cushions and pillows lose elasticity over time (typically 3–6 months). Inspect yours weekly:
- Look for creases, stiffness, or discoloration.
- Test seal by gently pressing the cushion—air should not escape.
Replace cushions and headgear per manufacturer guidelines to maintain a reliable seal.
6. Troubleshooting Tips
- Persistent leaks: Try a mask liner or over-cushion for minor gaps.
- Red marks: Loosen straps slightly or switch to softer headgear material.
- Dryness or irritation: Use a heated humidifier and ensure the mask is not overly tight.
- Noise or whistling: Check mask vents for debris and confirm all parts snap firmly into place.
With these mask-fitting and adjustment techniques, you’ll enjoy a snug, comfortable seal that maximizes therapy effectiveness and minimizes disruptions. Sweet dreams start with the perfect fit!
